Okay, I’ve been sitting on this one for a couple years now – way too long! It’s time to revealed it to the world (let me know if you google any prior art). Lets begin with the Stationary Cloaking Device. Note: the parts list will require pairs of two items (monitors, and webcams) -this is required for the fully built out wearable cloaker.
Now decide what object you are most interested in cloaking? Let’s say you’ve got a kid sister or brother or dad who’s always sneaking into your room and playing with your latest RC model racer. We can fix that. Let’s cloak the racer with a stationary cloaker.
Parts List
Part 1) RC Model Racing Car

1/16 E-Revo VXL 4WD RTR
Part 2) Two 19 inch flatsceen monitors. (Note, only one needed for the stationary cloaking device)


Part 3) Two webcams. (Note, only one needed for the stationary cloaking device)
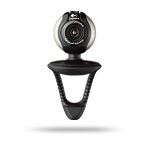

Part 4) A cheapie laptop that has a second video port, and two usb ports.

Cheap Laptop
Part 5) A decoy – a ready made largish poster (not too interesting, and not too large). Use your imagination.
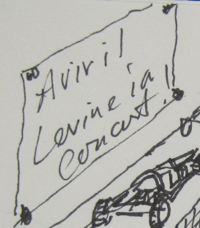
Avril Levine in Concert poster
Assembly
- Tack the poster on the wall.
- Mount the webcam on top of the monitor pointing toward the wall (i.e. focused on the poster)
- Place the RC on a box so that it’s raised high enough to be hidden by the monitor.
- Connect the monitor and the webcam to the laptop
- Turn it all on and step in front of the monitor. Voila! the RC roadster vanishes…. (sorta)
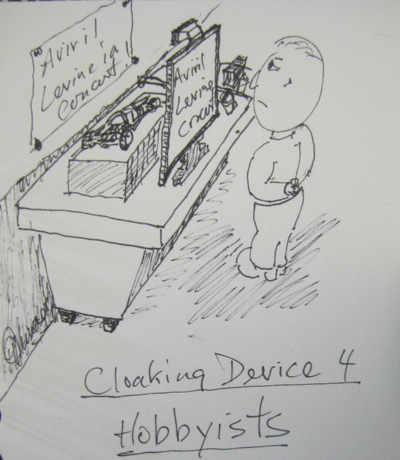
Dad, thinking about going to the AL concert...
Okay, now we’re cooking with jet fuel! Let’s move on to the sure-to-freak-em-out Wearable Cloaking Device:
This device will use the spare parts from the parts list for the stationary cloaker
Parts List
Part 1) second 19″ flatscreen monitor.

Part 2) second webcam

Part 3) Two 12″ lengths of light twine or shielded wire.
Assembly:
- Remove the stands from both monitors
- Mount the webcams on each monitor as follows: you’re going to wear the monitors, with the cameras mounted on them both cams facing away from the viewing side of the monitors.
- Tie both pieces of twine, or wire, to the backs of the monitors, so that the monitors can be hung over your head, with one on your stomach and the other on your back.
- Hook the second monitor to the second video port and the second webcam to the second usb port on your laptop
- Turn the suckers on and then gently pull the monitors over your head, so they hang over your tummy and back with the webcams point to the front and the rear.
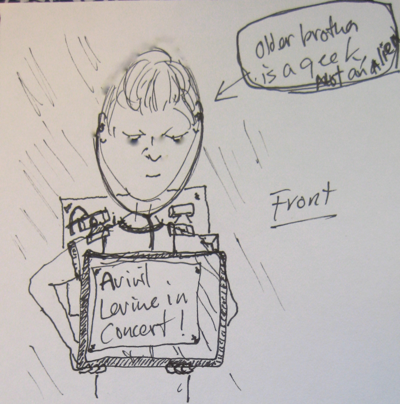
Now call your little sister in…. 🙂 heh heh 🙂

And there you have it! Cloaking, the low tech way. And they said it couldn’t be done! 🙂 Let me know if any of you manage to build one… and let me know if you find any prior art on the Internet.
Happy Canada Day, eh!

One Response to HOWTO: Build a Low Tech Stationary and Wearable Cloaking Device